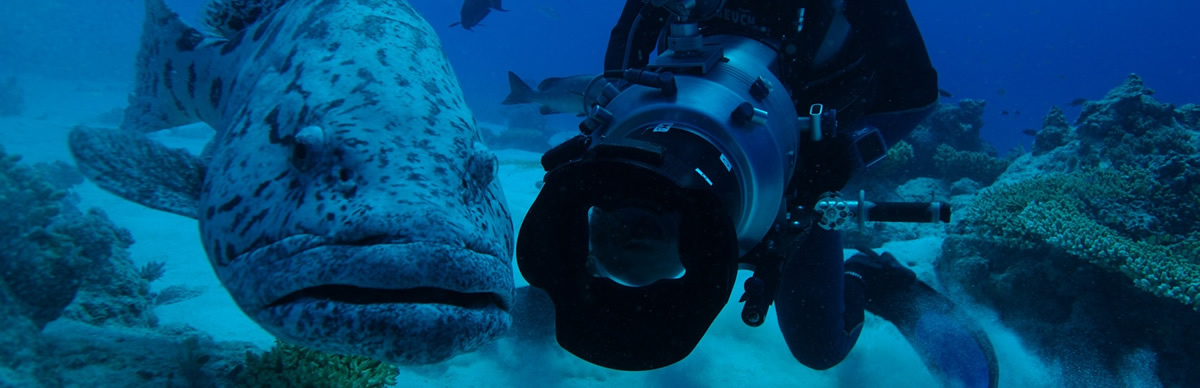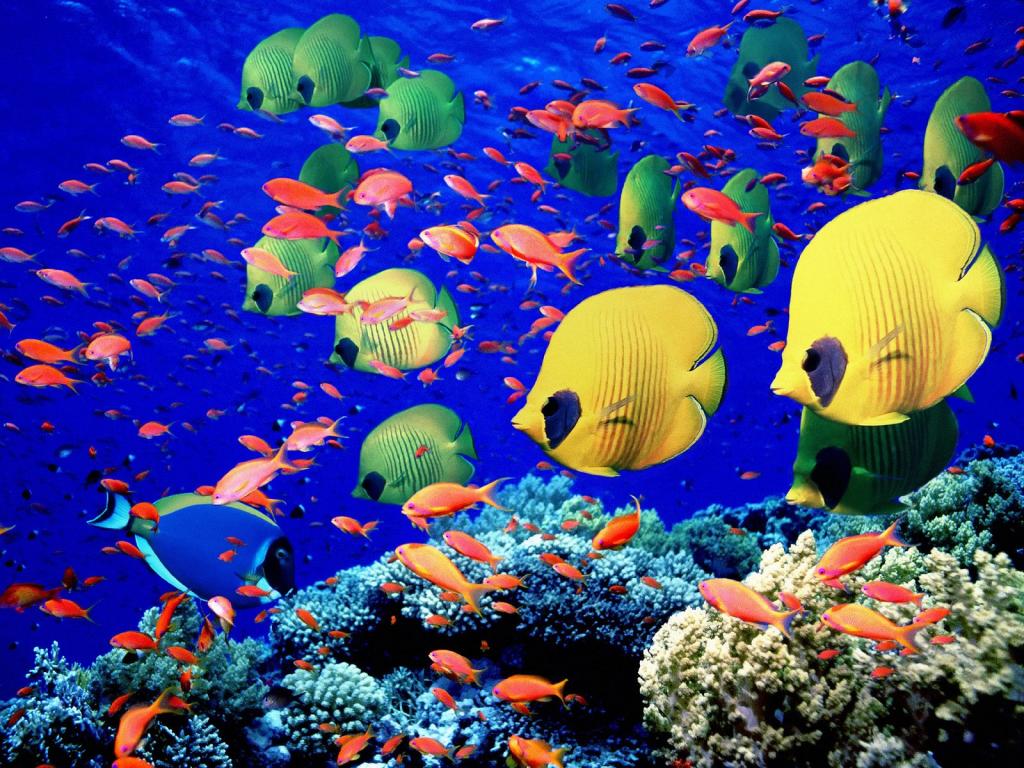
Minute molluscs, gigantic gorgonians, rusting wrecks, stone-grey sharks, kaleidoscope corals… there’s no doubt that the underwater world presents some of the most spectacular scenes on the planet, but catching it all on camera is another matter entirely.
And, whether you’re preparing for a week-long Red Sea Liveaboard or are planning a couple of shore-dives on a Maldives Diving holiday, capturing the world beneath the waves will not only provide you with lasting memories but will add a whole new dimension to your dives.
Underwater photography requires a new set of rules, as well as a certain degree of specialist equipment, but here’s a few basic tips that will instantly guarantee an upgrade of your underwater photography albums, without requiring technical know-how or complex gear:
1. Flash ‘ON’ for short-range: As light-waves are absorbed by the water, colours start to lose their clarity and, eventually, will disappear entirely; reds fade first and will be completely gone at just 5-6 metres, followed by oranges and then yellows. The result? Photos that show nothing more than a dull haze of blues and greens. To compensate, a flash is mandatory: set the flash to ‘ON’ at all times for shots that are less than 1.20 metres away.
2. Flash ‘OFF’ for longer range: For anything more than 1.20 metres away, the only effect you’ll achieve with a standard camera flash is ‘backscatter’, i.e. a snowstorm effect. To avoid bouncing light back off the particles in the water, switch your flash ‘OFF’ or invest in external strobes which can be mounted onto your camera’s housing.
3. Get as close as possible: For the clearest images, minimising the amount of water between lens and subject is one of the simplest but most effective things you can do, and a wide-angle or macro lens is invaluable here, allowing you to focus closely on your subject. Close-up shots will also help to eliminate the issue of backscatter.
4. Fill the frame: Particularly if you’re just starting out, clever composition can be tricky when you’re trying to maintain buoyancy, as well as breathe and control your camera all at the same time. Filling the frame with your subject is not only the most straightforward technique but will also give a clear focus to your photo and will help to capture detail.
5. Use the sun: 10:00 till 14:00 is generally the best time to take photos. With the sun at its highest, you’ll be able to maximise the amount of natural light penetrating the water. Another trick is to shoot upwards, towards the surface – not only will this maximise the amount of natural light entering the frame, but it can also create some astonishing effects, as the sun’s rays reflect through the water.
By adopting these simple techniques, you’ll be rewarded with higher quality and more satisfying shots that allow you to showcase the vivid colours and spectacular shapes you experienced on your Red Sea Liveaboard or Maldives Liveaboard, rather than taking home a collection of washed-out images.
Tags: Red Sea Liveaboards, Red Sea Live Aboards, Maldives Liveaboards, Maldives Live Aboards, Red Sea Diving, Maldives Diving, Egypt Diving, Egypt Dive